Vinyl Race Car Graphics
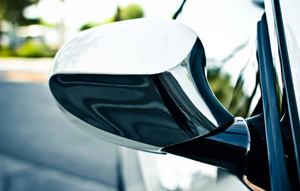
 One of the most frequently asked questions about vehicle decals involves the choice of vinyl. Which vinyl you should use depends largely on your target market. Obviously, if your customer wants a chrome or carbon fiber accent, your choices are limited. But you do have choices. For basic graphics on flat or simple curves, you can use a metallized film like Schein Chrome or Chrome Polish, or Schein Carbon Fiber holographic. For more challenging applications, you’ll need a more advanced film. Avery Conform Chrome, ORACAL 975, and EnduraGLOSS 780 Carbon Fiber offer easier application and better conformability due to their air egress liner and more pliable face films (Fig 1). These are among the best options for applying chrome or carbon fiber accents on mirrors and fenders.
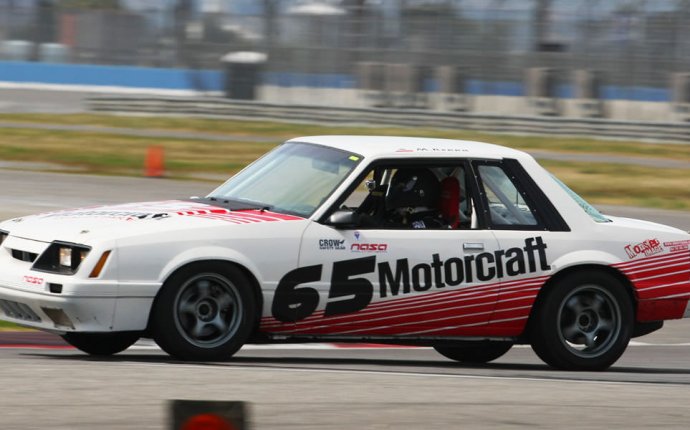
For motor sports, special effects films like chrome and carbon fiber may work as accents. But check on local or sanctioning bodies’ rules on highly reflective films for use on door numbers and other marking graphics. Some racing series no longer allow metallized vinyls for these applications. If so, you can still make an impact with fluorescent vinyl or reflective sheeting. Despite the name, reflective sheeting doesn’t produce as much glare as metallized film. And it adds better visibility at night. And of course, there’s always good old glossy calendared or cast vinyl for door numbers, logos, flames, etc. If metallized films are permitted, you might consider the added visual impact of a holographic film, perhaps with a fluorescent outline.
 For commercial fleet graphics, standard cast and calendared films will work. Which type you choose is partly a matter of personal preference and customer budget, but there are some basic technical guidelines to keep in mind. For decals on compound curves or deep recesses, a cast vinyl is the best option. Calendared films will not adhere to such challenging surfaces permanently. They’ll stick for a while, but will tend to lift due to their lower levels of dimensional stability.
If you’re applying letters to the side of a truck or trailer, you can use an intermediate calendared film like EnduraGLOSS or ORACAL 651. A cast film like ORACAL 751 or 951 will do the same job but will last up to twice as long before it begins to age visibly.
Outdoor Durability
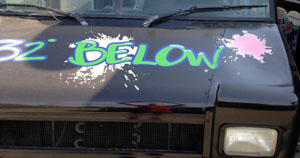
Speaking of outdoor durability, there is a very important fact you need to understand before applying vinyl to vehicles. The outdoor ratings of these products are all based on vertical applications. Applying a vinyl film on a horizontal or angled surface greatly increases its exposure to UV rays and reduces its service life. So a six year vinyl will only last for six years if it’s applied vertically. Think storefront graphics or banners. Application on the side of a box truck fits that description. Application on the hood or windshield does not. Putting vinyl on the hood of a vehicle cuts its outdoor durability in half just because of the more intense impact of the sun’s rays hammering down on it. Add engine heat and you have a recipe for disappointment. Your six year vinyl applied to the hood may look old and weathered in two years or less. Manufacturer warranties for outdoor life of installed vinyl graphics typically do not apply to anything applied horizontally. So If you sell vinyl graphics on the hood of a vehicle, always use cast film unless it’s a short term installation.
If you’re selling paint replacement wraps, you have a better chance of achieving long term customer satisfaction. These films like Avery Supreme Wrap Film and ORACAL 970RA have an added layer of clear coat. This adds both abrasion and UV protection resulting in a warranted life of five years on the vehicle. Using a standard cast vinyl will not yield similar results unless you take steps to add a comparable layer of overlaminate film or clear coat. When in doubt, check the manufacturer’s product data sheet. Avery’s Conform Chrome for example, is rated for three years outdoors in vertical applications, but only one year on horizontal applications. Advise your customers accordingly or schedule them for an annual graphics upgrade.
Wet or Dry Application?
Vinyl can be applied dry or with application fluid like RapidTac or SureGlide. For a lot of installers, it’s mainly a matter of personal preference, but there are advantages and disadvantages to each method. Applying vinyl dry is faster, but can be complicated by air and dust getting trapped under the letters resulting in distracting blemishes. Small decals like windshield logos can be applied dry using a hinge method, resulting in a fast, easy installation. Applying the vinyl dry may result in a few bubbles from trapped air pockets. These are easily dispatched with a bubble popper tool. Just pierce the vinyl in the bubble, and squeeze out the trapped air. If you miss one or two small ones, not to worry. These will usually be baked out in the sun within the first week after installation of the graphics. The main drawback to dry application of course, is the possibility that the letters will stick to the substrate before they’re correctly placed. A hinge method alleviates the second problem and thorough cleaning solves the first one.
Adding application fluid also solves both problems. A well-done wet application flushes any dust particles and air pockets out from under the vinyl for a smooth, flat installation free of blemishes and bubbles. It also gives the installer a temporary lubricant that allows the decal to be re-positioned or adjusted after contact with the substrate. The downside to wet application is the necessity of removing all the fluid before you remove the transfer tape and finish the installation. And, depending on the kind of vinyl and the amount of fluid used, the fluid may weaken the vinyl’s adhesive resulting in a long wait before the tape can be removed and the installation completed.
For installation of very large graphics like full or partial wraps, wet applications are impractical. So these most challenging of vehicle graphics installations are all performed dry. This requires a high level of skill. A wrap training class is the best way to start. If you can’t find one nearby, you can do the next best thing and get some video training from experts like Justin Pate. Justin’s Vehicle Graphics Training DVDs are an invaluable tool for getting a handle on wrap installation and vehicle graphics in general.
Surface Preparation
Surface preparation is an important step to successful installation of vehicle graphics. Dust, wax, and other pollutants can ruin a brilliantly designed graphic. Taking the time to properly clean and prepare the glass and metal can be critical to success. This is even more important when wraps or partial wraps are involved because the vinyl must adhere to seams and under body parts where hidden dirt and grease can prevent adhesion.


