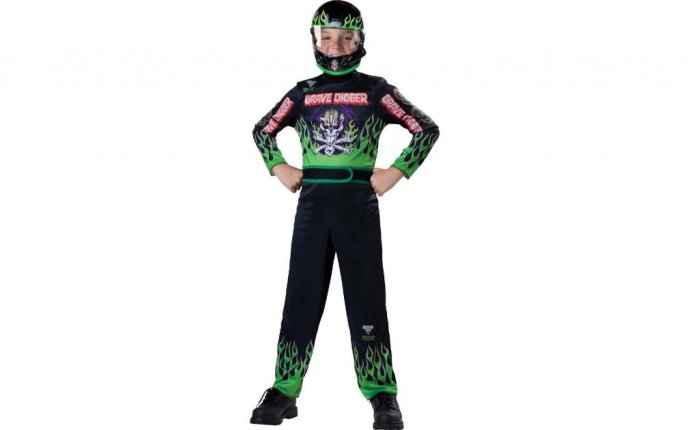
Race Car Driver Costume for Kids
Ladies and gentlemen, start your engines! But not your sewing machines. Even the tiniest trick-or-treaters will wow the competition when they show up on Halloween with their own transportation. What kid wouldn't like to be a race car driver? And you can rest assured that no mechanic's background is required to construct this kids' Halloween costume.
What You'll Need
- Black sweat suit
- Black baseball cap
- Acrylic paint: assorted colors
- Fabric paintbrushes
- Fabric markers (or paint and liner brush)
- Short rectangular box
- Box cutter (adult use only)
- Yardstick
- Strong masking tape
- 2 plastic containers, 4-1/2x6 inches each
- White fun foam
- Gray plastic or fun foam
- Hot glue gun, glue sticks
- "Egg-cup" packing foam
- Black spray paint
- Scissors
- Black ribbon
Instructions
- Wash and dry sweat suit. Do not add fabric softener.
- Paint a 3-inch yellow vertical stripe down outside of each pant leg. Paint a large rectangle across front of shirt. Paint geometric shapes all over sweat suit and on front of cap using assorted colors of paint; overlap some shapes. Let dry.
- With fabric markers, write racing words in the centers of shapes: use words such as Top Pick, Start, Lap, Speed, Drive, Luck, The Favorite, Spoiler, Strong Run, Win, Finish, Tough, Victory, Crew, Go, Fast, and Leader. Paint "Winner" in rectangle across front of shirt, and add vertical stripes before and after the word. Paint large purple and thin red horizontal stripes on yellow leg stripes. Let dry.
- The shorter sides of rectangular box will be the back and front of the car. Cut bottom flaps off box, along with top side flaps and back flap; leave front flap attached. Trim bottom of box to size you'd like car, leaving two rounded "wheels" on each side.
- Turn a longer box flap (cut off in step 4) lengthwise, and place long edge along back of box, centering it. Mark box length on flap. Measure and mark lines 31/2 inches up from first markings. Then mark horizontal lines out to both edges of flap. Cut along lines, creating a T shape. Attach bottom of T to inside of car with masking tape. Fold top of T down to make spoiler. (If flap is too long or wide, trim ends or width.) Reinforce folds with masking tape.
- Bring front flap down over front of box, and mark front window holes by tracing around plastic containers. Cut out holes. Paint car however you'd like. (Paint the front of the front flap and the front of the box the same color.)
- Cut out two 3-inch circles of fun foam. Place plastic containers in front flap holes, and glue white foam circles below this for headlights. Cut out a piece of gray plastic to fit around front flap extending about 2 inches on either side. Glue gray plastic to bottom of front flap, and attach extended edges to sides of box.
- Cut packing foam into four strips to fit around "wheels" on sides of car. Spray-paint foam black; let dry. Glue foam to wheels, making sure foam ridges are on outside of wheels. Place car on child, and measure length needed to make ribbon harness. Cut two pieces of ribbon this length, and glue ribbon ends to front and back of car on right and left sides.
On your mark, get set, go have some Halloween fun! And if you have a kid who's into animals, not engines, click to the next page and try our easy elephant costume on for size.
Source: people.howstuffworks.com


